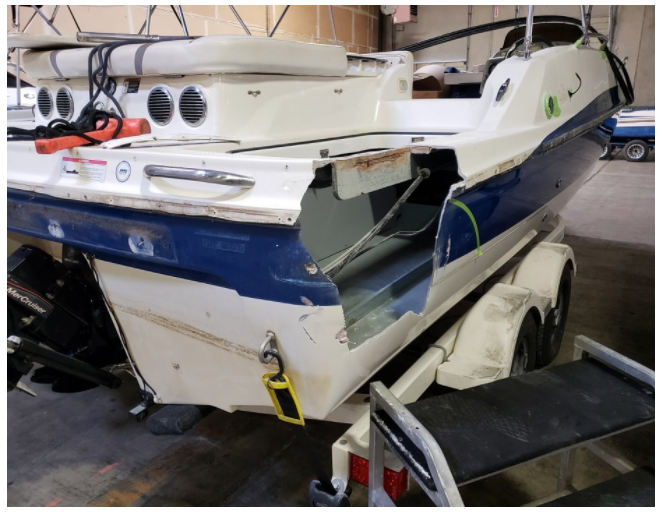
Fiberglass yachts, known for their durability and sleek appearance, are a popular choice among boat enthusiasts. However, like any marine vessel, they require regular maintenance and occasional repairs to ensure they remain in top condition. Understanding the essentials of fiberglass yacht repair can save time and money, and ensure a safe and enjoyable sailing experience.
Understanding Fiberglass Yacht Damage
Fiberglass yachts may be susceptible to various types of damage, which can affect their structural integrity and performance. Common issues include:
- Gelcoat Scratches and Chips: These are superficial damages to the outer layer of the fiberglass, often caused by minor impacts or abrasions.
- Blisters: These occur when water penetrates the fiberglass and creates air pockets, leading to potential structural weakening.
- Cracks and Holes: More severe than surface scratches, these can compromise the yacht’s strength if not addressed promptly.
Regular inspections can help identify these issues early, allowing for timely intervention. For a comprehensive guide on maintaining yacht integrity, explore more about fiberglass yacht repair.
Essential Tools and Materials
Before undertaking any repair work, having the right tools and materials on hand is crucial. This ensures both safety and efficiency in the repair process. Essential items include:
- Fiberglass Repair Kit: Includes resin, hardener, and fiberglass cloth. These are fundamental for most repair tasks.
- Protective Gear: Safety goggles, gloves, and respirators protect against harmful chemicals and dust.
- Sandpaper and Sanding Blocks: Necessary for preparing the surface and achieving a smooth finish.
- Applicators: Brushes and rollers for applying resin and gelcoat.
Equipping oneself with these essentials can streamline the repair process, ensuring a professional finish.
Step-by-Step Guide to Basic Repairs
Repairing Gelcoat Scratches
Gelcoat scratches are relatively simple to fix, requiring only a few steps:
- Clean the area thoroughly to remove any dirt or debris.
- Sand the damaged area with fine-grit sandpaper to smooth out edges.
- Apply gelcoat paste, ensuring it matches the original color.
- Allow the gelcoat to cure completely before sanding it back to a smooth finish.
Addressing Fiberglass Blisters
Blisters require more attention, as they can affect the yacht’s structural integrity:
- Identify and mark the affected areas.
- Use a grinder to open the blisters and allow them to dry out completely.
- Fill the area with a resin mixture, ensuring it adheres well to the existing fiberglass.
- Sand and apply a gelcoat layer to protect the repair.
For more detailed insights, consider learning about professional approaches to fiberglass yacht repair.
Preventative Measures for Long-Term Maintenance
Preventing damage is always preferable to repairing it. Implementing regular maintenance routines can significantly extend the lifespan of a fiberglass yacht. Some preventative measures include:
- Regular Cleaning: Keep the yacht clean to prevent dirt and debris from causing surface damage.
- Scheduled Inspections: Regular checks for cracks, blisters, and other signs of wear can catch issues before they escalate.
- Invest in Quality Covers: Protect your yacht from environmental elements when not in use.
By following these guidelines, yacht owners can maintain their vessels in pristine condition, ensuring a safe and enjoyable experience on the water.
Conclusion
Understanding and applying the fundamentals of fiberglass yacht repair can transform a daunting task into a manageable project. With the right tools, knowledge, and preventative measures, maintaining the beauty and functionality of a fiberglass yacht becomes much easier. For those seeking professional assistance or further advice, exploring expert resources on fiberglass yacht repair can offer invaluable guidance.